This is how you can set up cloud logging for your site.
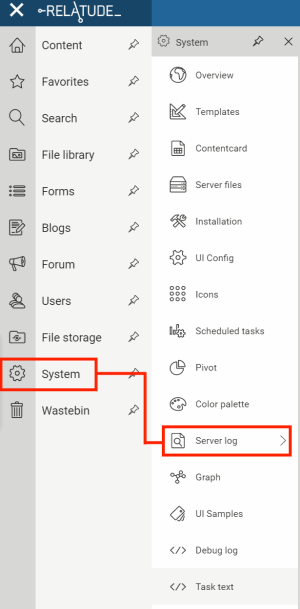
To enable cloud logging, click on the System module, then Server log.
Now you'll see an overview of the logs currently registered in the system. New logs are registered here when the system tries to write to a non-existing log (see further down). New logs are disabled by default.
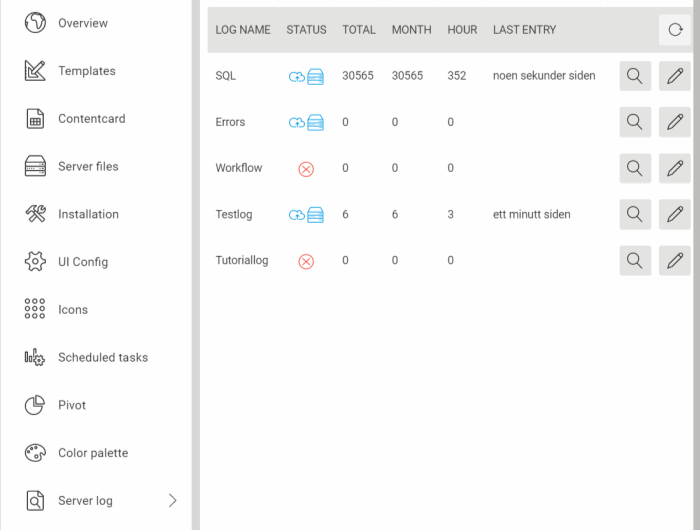
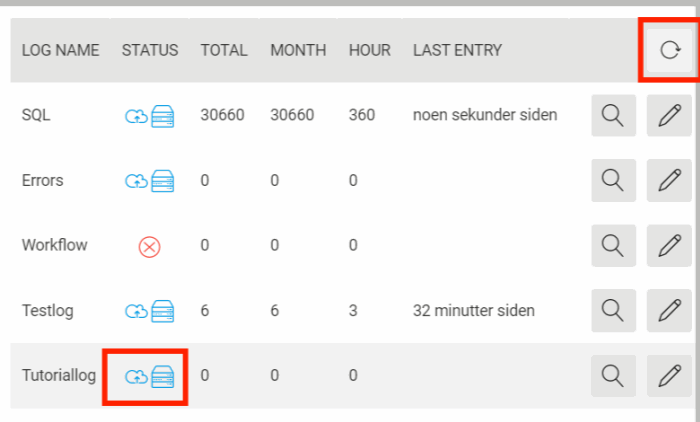
As we can see, the 'Tutoriallog' is currently disabled. (The fact that it is shown here means that the system has already attempted to insert one or more rows into it, but since it is disabled there are no rows).
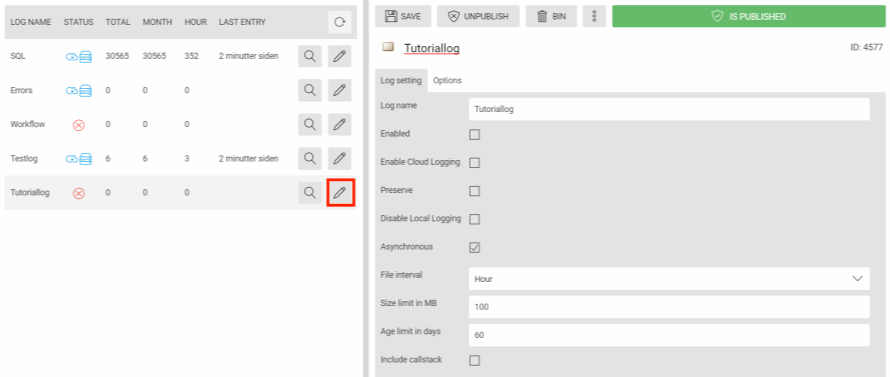
Click on the edit button for the log to open the settings window:
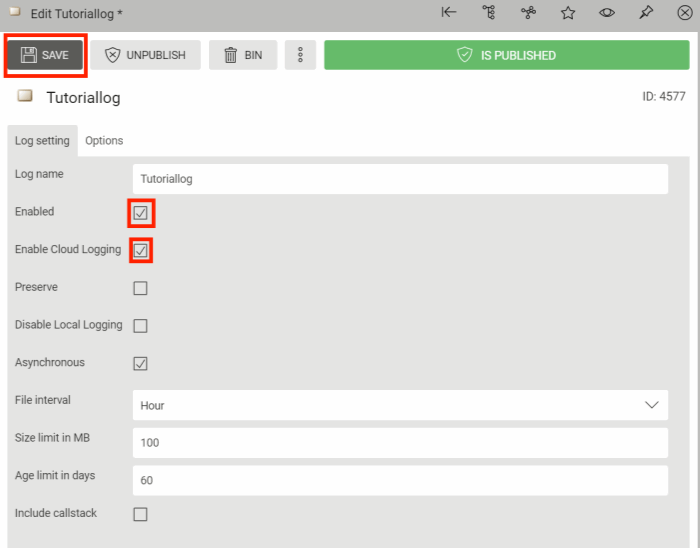
Now click 'Enable' and 'Enable Cloud Logging', then save.
If you click on the refresh button in the overview window, you'll see the icon has changed to show that the log is enabled.
Now if we run this code in the backend

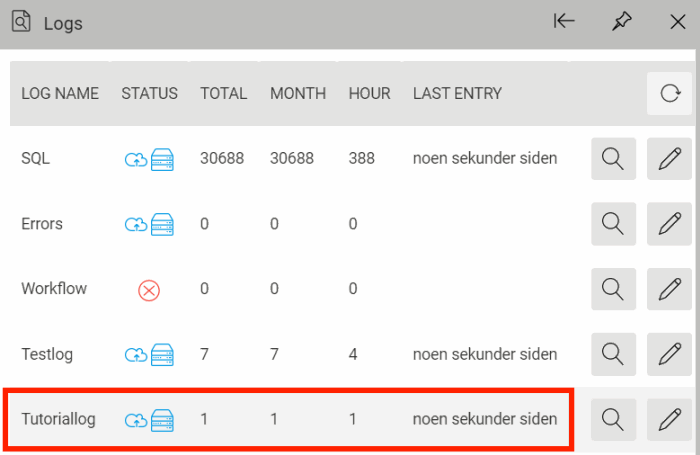
we'll write to the log, which will be reflected in the overview window when we refresh again:
Now we can click on the log's row, and we can see what we've logged:

If we want to set a custom column name this can be accomplished by using WAFLog.ColNameDelimiter in the log string:

